This was a fun personal project, as I am a big fan of Stanley Kubrick’s: The Shining and The Duffer Brothers: Stranger Things. It started when I first heard the Soundtrack Falling by Woodkid. I instantly got this Shining vibe and decided to recreate a scene from the movie. I chose one of the most famous scenes from the movie as my starting point: the hallway with Room 237. I knew, that only that scene wouldn’t be enough, so I eventually divided the soundtrack into sections and decided to make a scene for each section.
As I worked, I saw the Stranger Things Season 3 Trailer on Youtube. It’s one of my favourite Netflix-Series so I thought why not include it in your Shining Project. So I basically divided each section of the soundtrack into two and determined for a transition between the two styles.
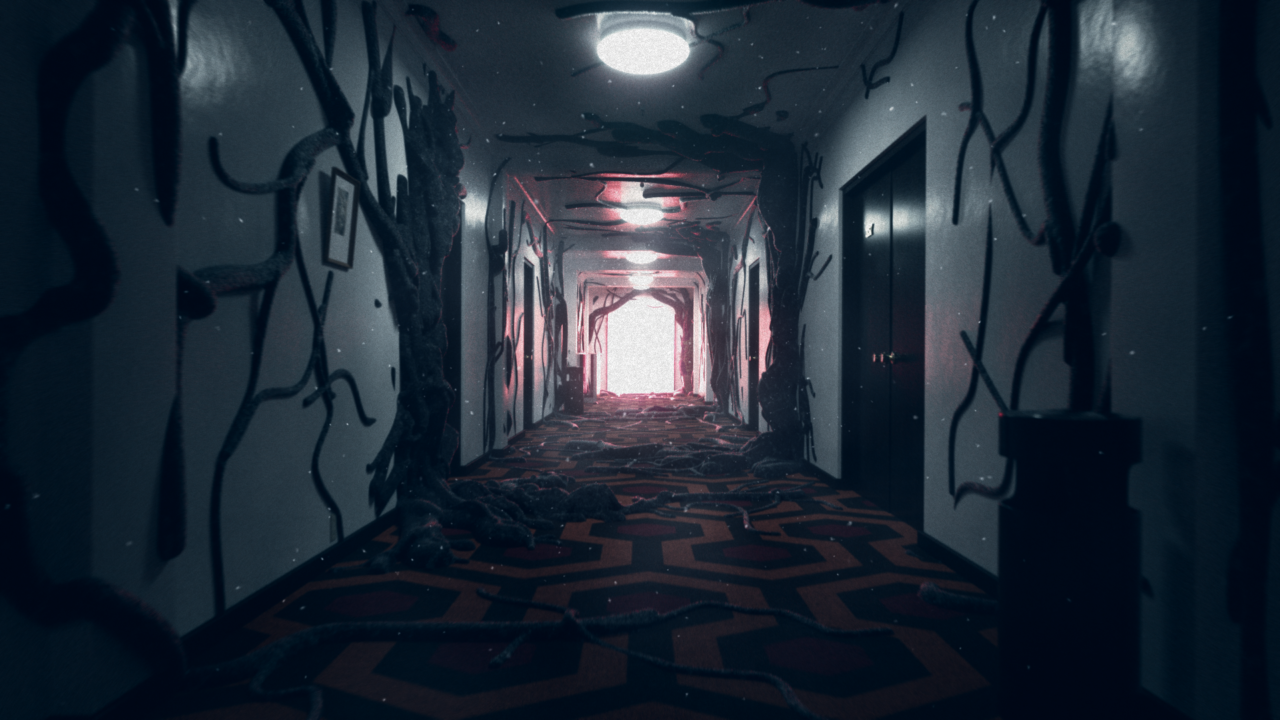
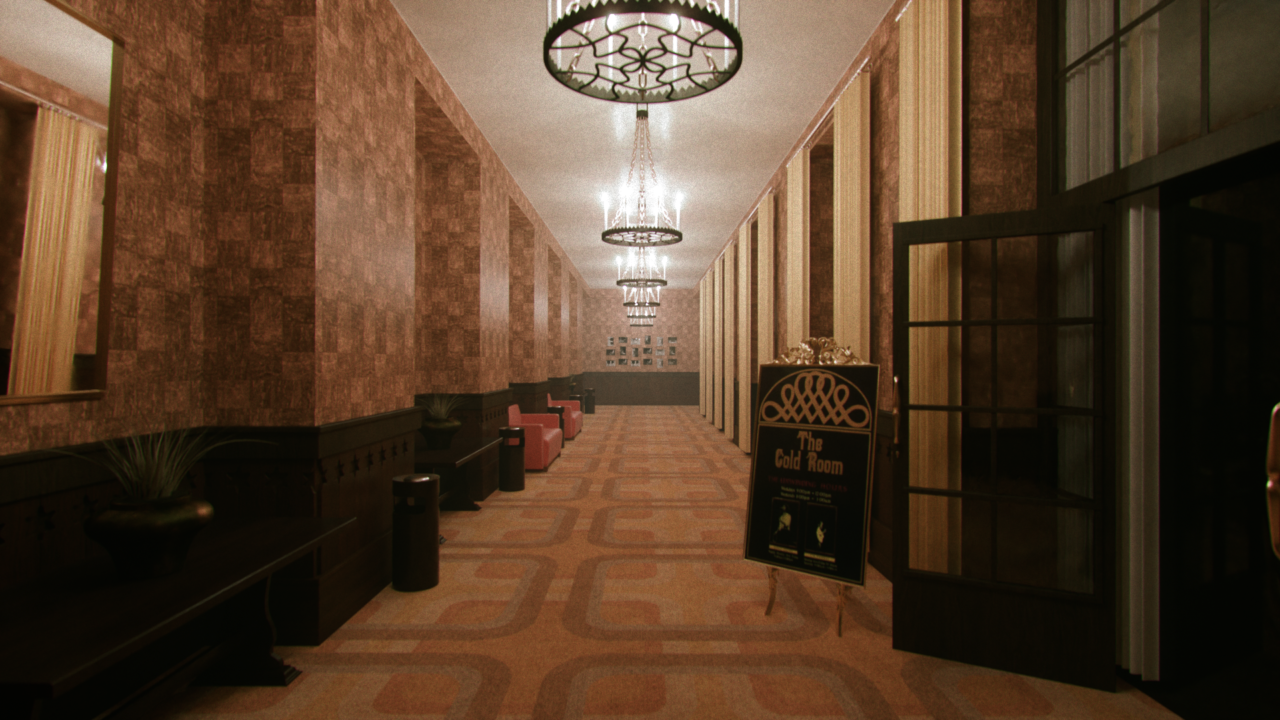
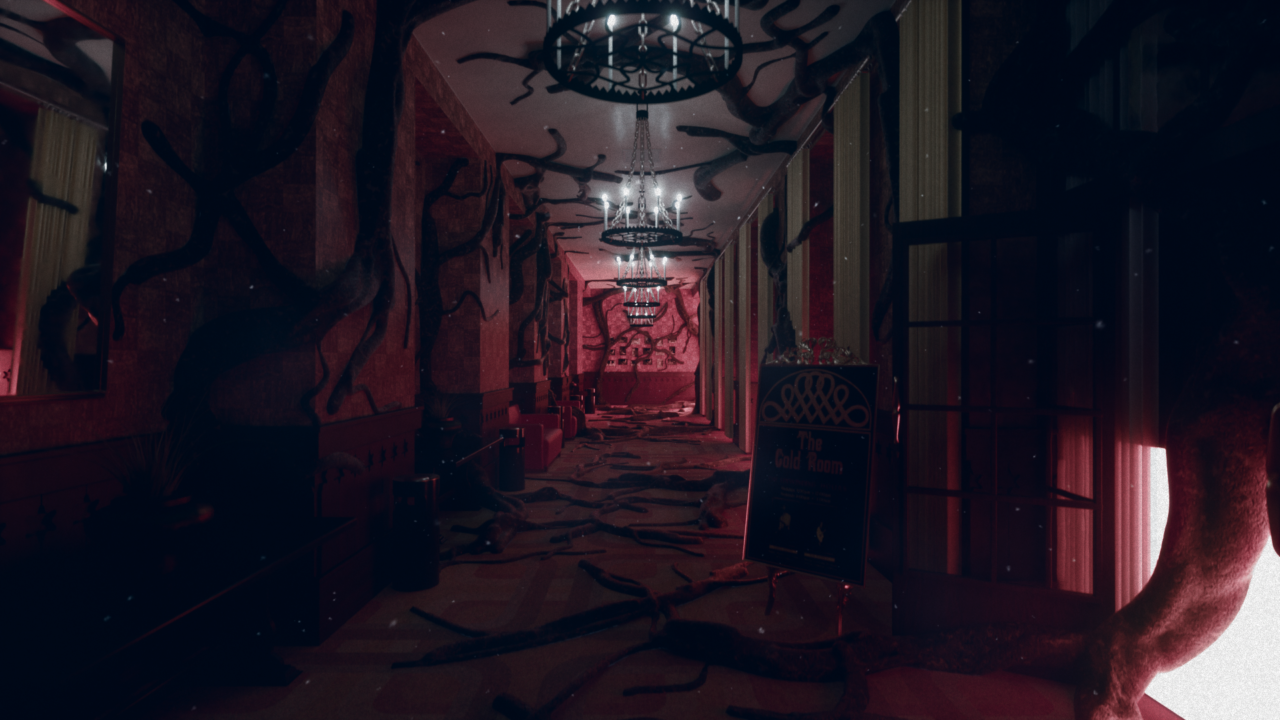
The Hallway
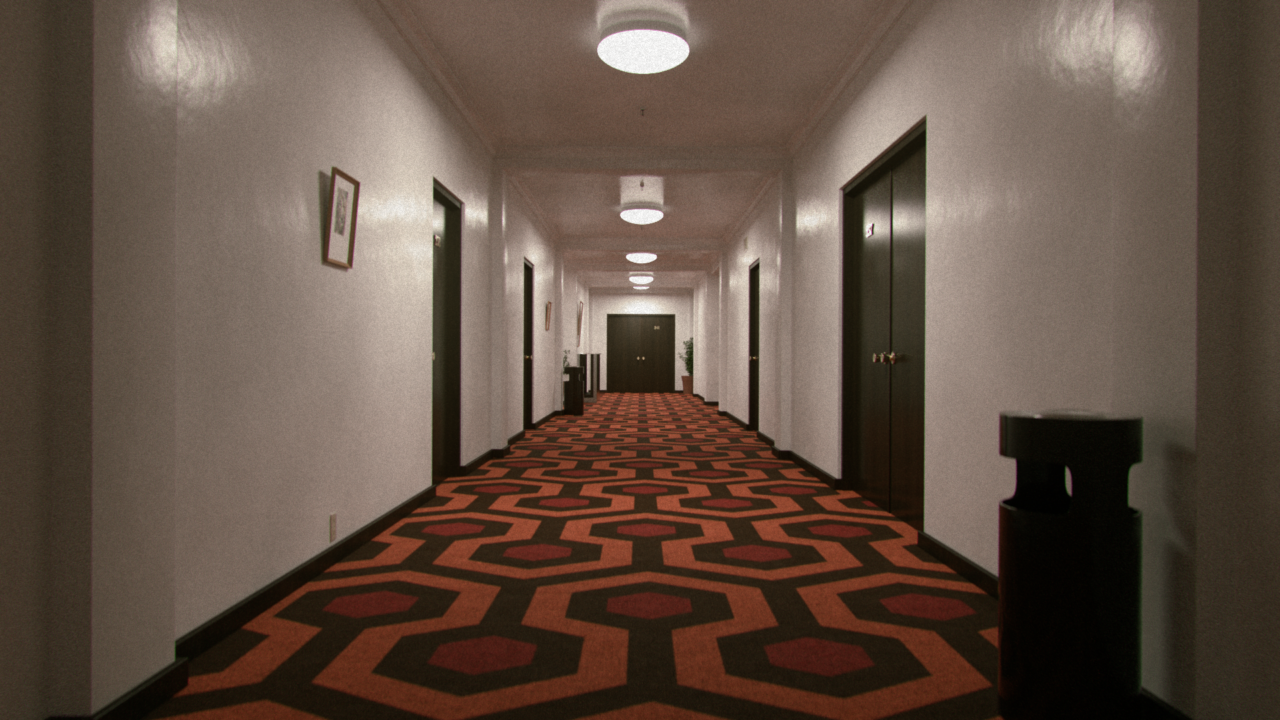
As i previously said, this was my starting point. I looked at many reference images and watched scenes from the film, to get a better understanding of the dimensions. As it is really important to model the scene physically-accurate to get the best results out of the render engine.
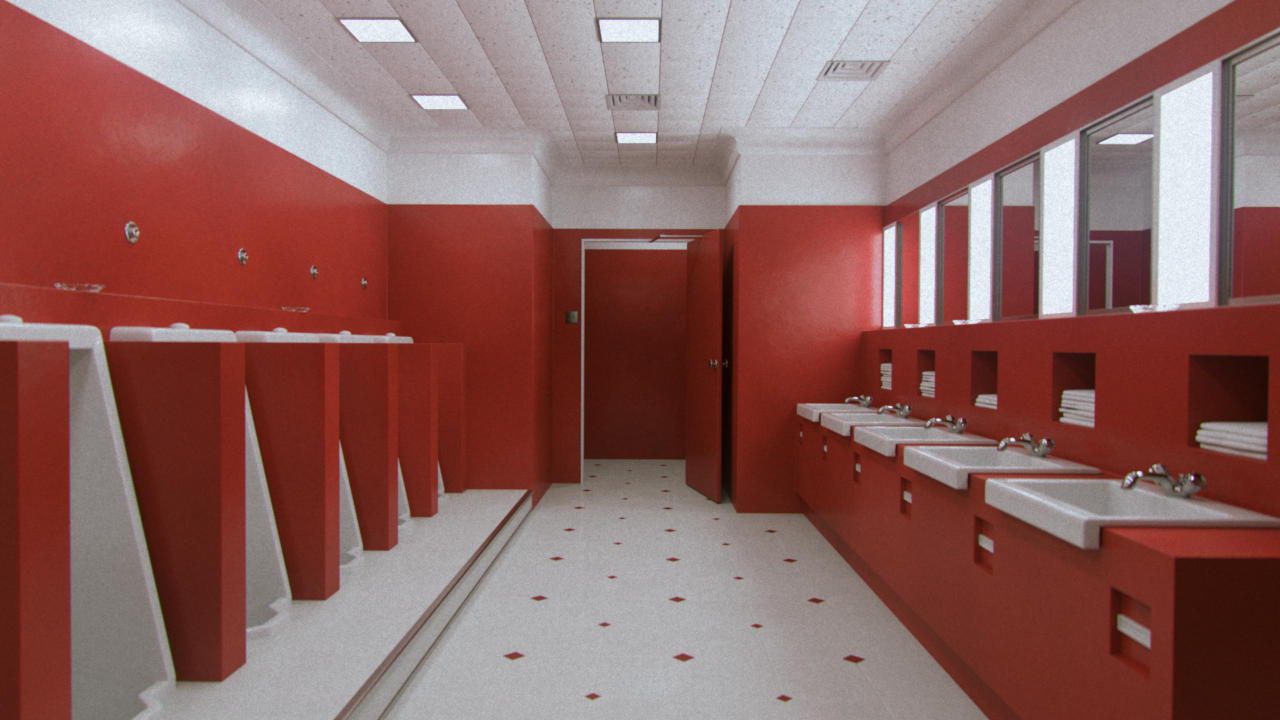
The Toilet
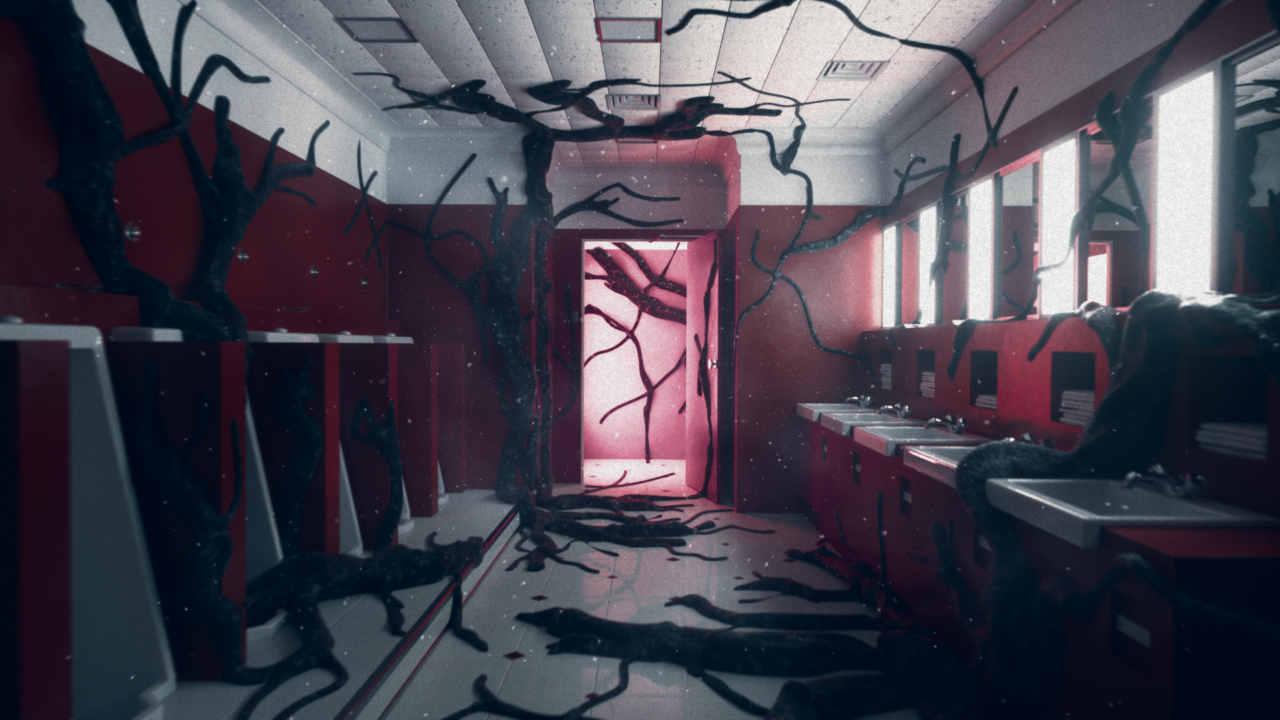
The vines in this scene are probably one of my most favourite throughout the whole video. They were created using the new Volume Builder tools from Cinema 4D R20. All of them are just splines with different radii. It’s a neat little trick to turn on polygon-snapping and using the Spline-Sketch tool, so you can draw freely on top of the existing geometry.
In this scene I also altered the lighting for the Stranger Things Sequence (turned off the lights on the ceiling and added a red area light in the entrance room) to create a better mood.
The Bathroom
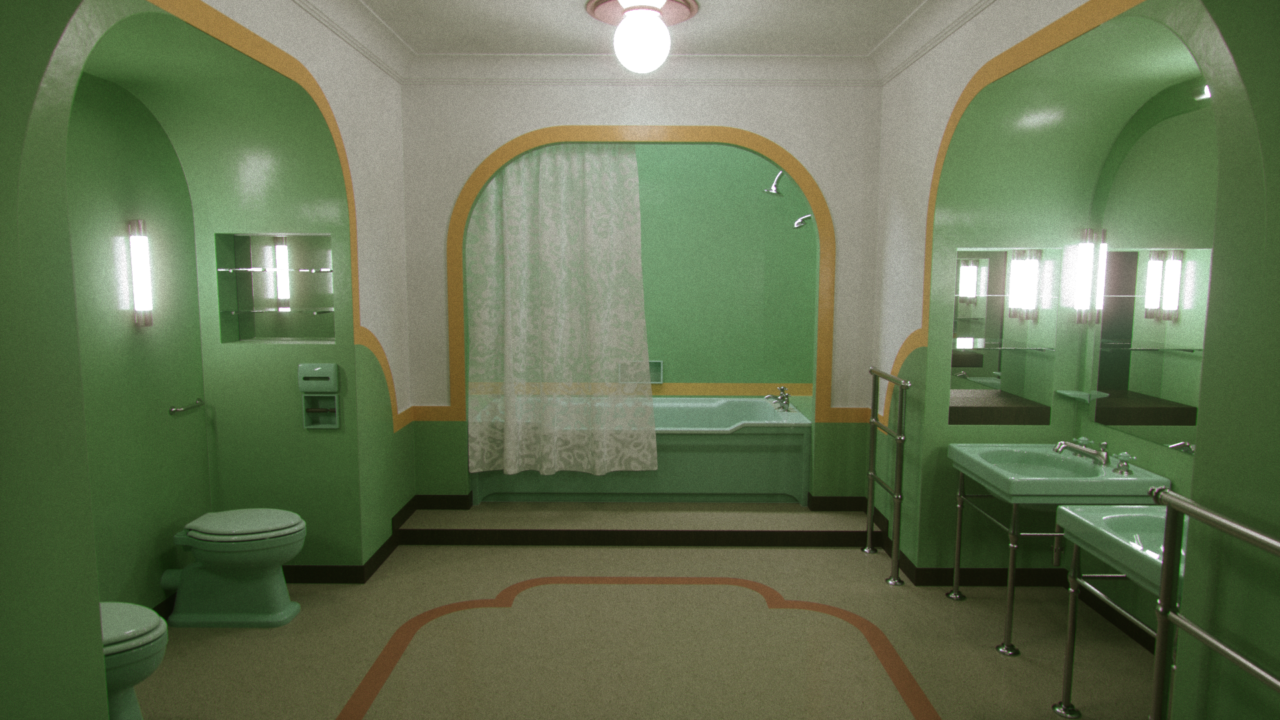
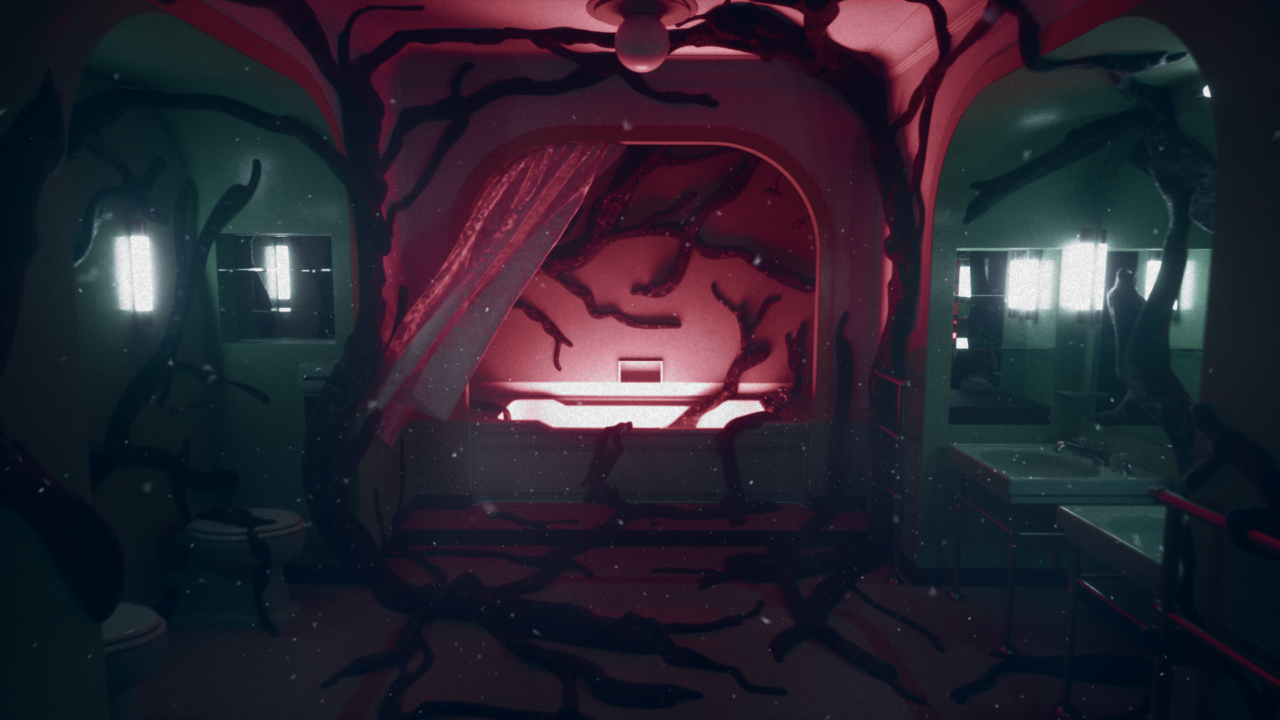
The bathroom scene turned out pretty well in terms of replication of the original movie scene. The curtain was made using the new Houdini Vellum Solver. I figured out that it would deliver more realistic results, than Cinema 4Ds built-in Cloth. I am also trying to get a better understanding of Houdini in general, so I really wanted to do it in Houdini. I also tried to put a woman in the bathtub as there is one in the movie, but I wanted to establish a kind of an abondoned mood, so the woman didn’t make it into the final render.
The Elevator
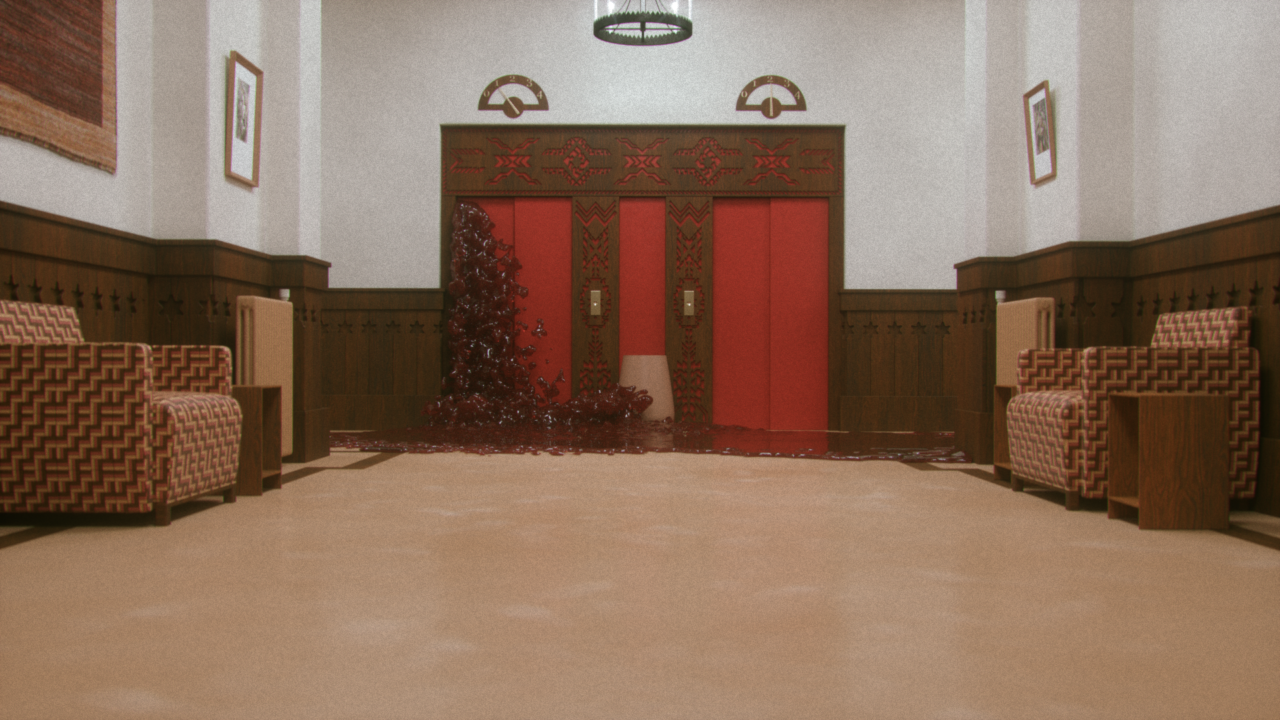
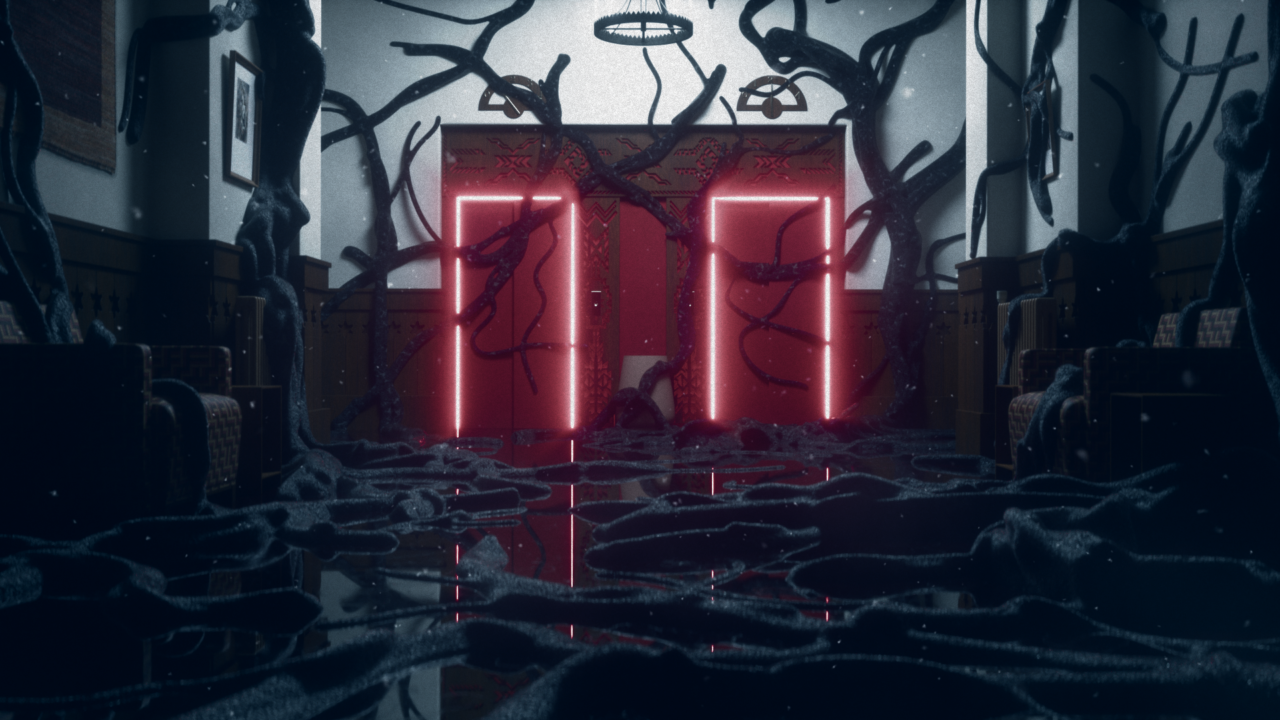
I was really happy with how the scene turned out, but I soon realized: I need blood! So I tried to simulate the blood in Houdini. After many many tries of creating decent colliders for the fluid system I decided to just use X-Particles instead. It was the first time I ever used X-Particles and it was surprisingly easy to create the blood sim. I am not quite happy with the endresult of the simulation, but at this point I wanted to move on to the other scenes and don’t waste too much time learning X-Particles.
The Gold Room
As I finished the Elevator scene, I thought I just had to do the Colorado Lounge. Then I figured out, that there is one more sequence in the soundtrack I had to cover. I totally forgot about the Gold Room. I am really happy with the mood of this sequence. For the Shining sequence I rendered out a Z-Depth pass and overlayed it on top in post production as there is some fog/haze in the original movie. I also could have done it with Octane’s environment fog, but the scenes were already pretty noisy because all of them were lit with available lights except the Colorado Lounge. I also created a bit of an environmental fog in post production with the particles. There is one set of particles which is just a bunch of big particles with close to zero opacity. And then there is the main particle layer, with many particles floating around to create the Upside-Down-Look from Stranger Things.
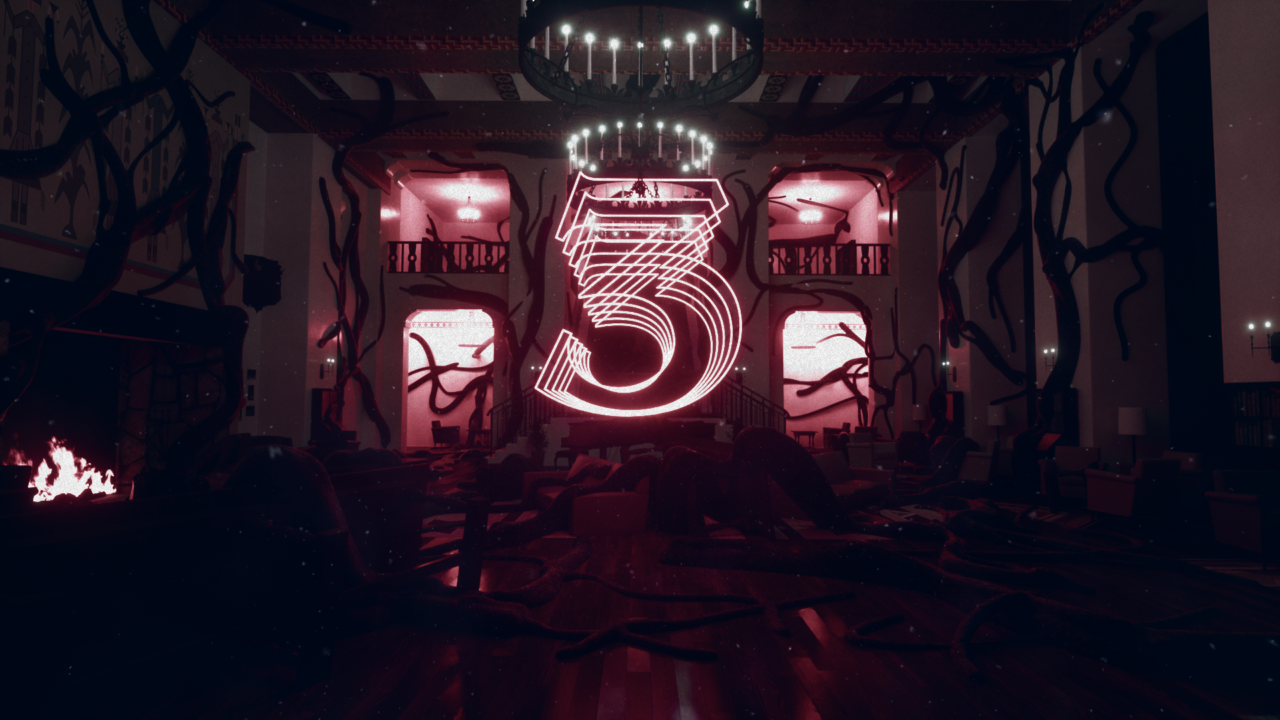
The Colorado Lounge
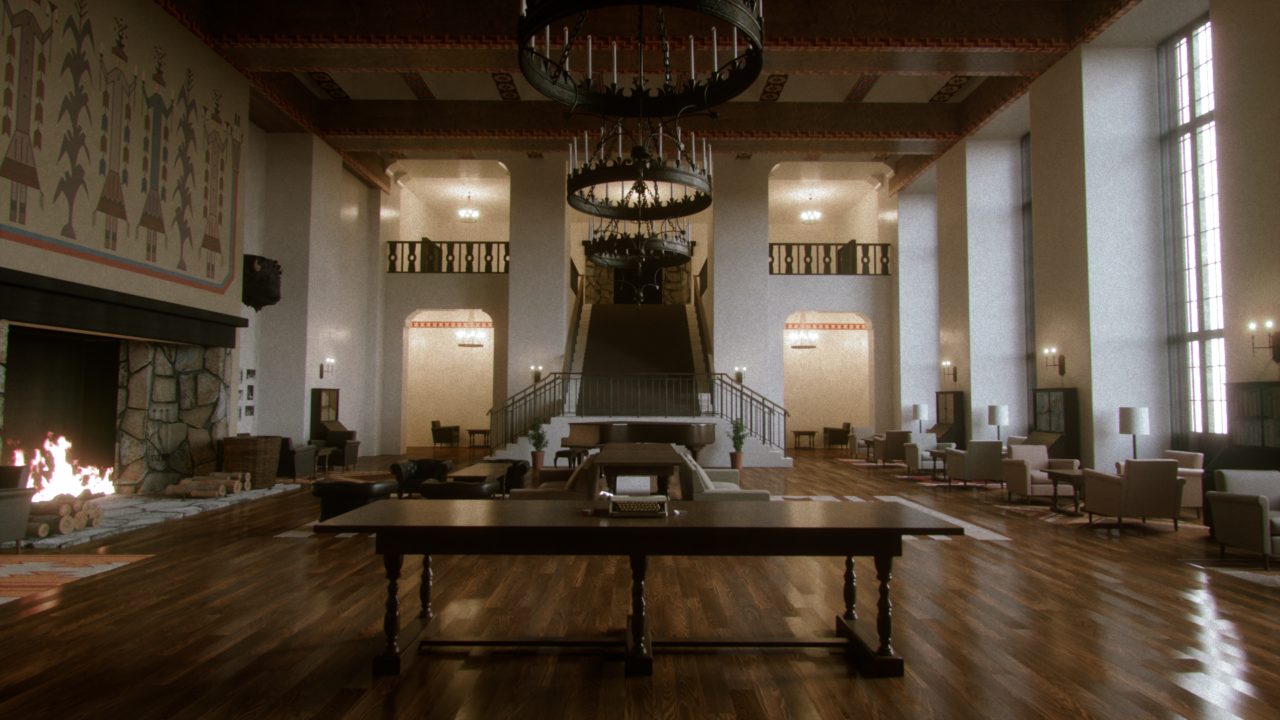
I really liked to create this scene as the dimensions were quite different than the others. There are also a lot of props in this scene and I had to model or find them online as close as possible. I also got a very nice screenshot from the movie to recreate the indian pattern on the left wall and the patterns for the carpets on the ground. The scene was lit with a HDRI and the available light sources. When the scene has finished rendering I figured out that I need some fire in the fireplace to make it look more realistic. In the beginning I tried to simulate it in Houdini, which worked pretty well, but for the little details I decided to just use a plane with a video of some burning fire on it. And of course the fire in the Shining sequence isn’t even in the frame of the final video because of the 4:3 aspect ratio.
Some Hard Facts
/ Total render time: ~ 124 hours on a single 1080 Ti
/ Average render time for a single frame: ~ 5 minutes
/ Average polygon count of one scene: ~ 1.2 million (with the vines)
/ Viewport performance with all geometry: 14fps
/ Total number of working days: 13
Raphael Heiser / June 2019